When the temperatures drop here in the Tri-Cities, the last thing you want to have happen is for your heater to stop running. Not only can it be uncomfortable, but when your home turns into an icebox, it can be especially dangerous to children, the elderly, at-risk individuals, or pets. If you are facing such a situation, taking action to get it resolved as quickly as possible is critical. To help you get started, we will now walk you through common reasons why your heater won’t turn on, simple at-home checks you can DIY, when to call a professional for heater repair, and how routine heating system maintenance can prevent future problems.
Steps to Self-Diagnose Heater Repair
Step 1: Check the Thermostat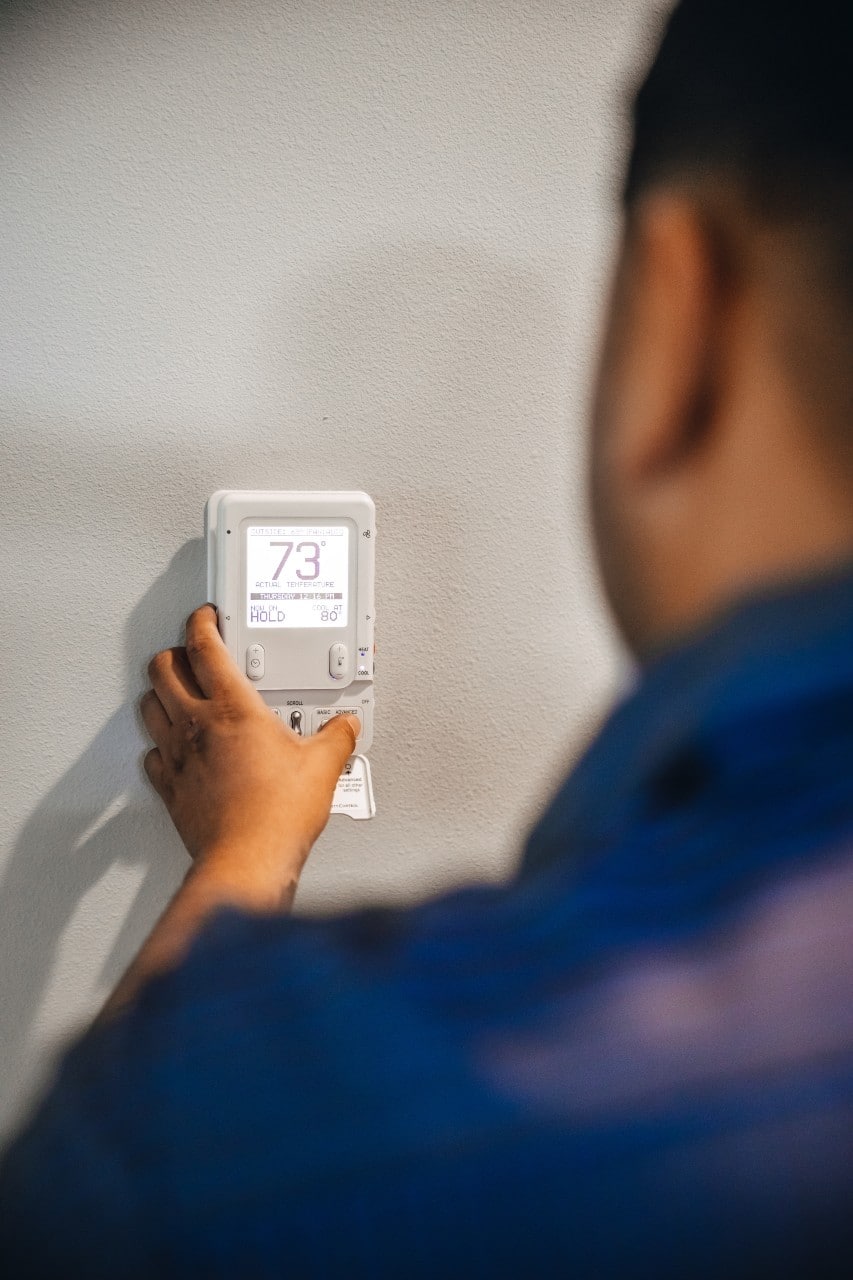
When self-diagnosing heater repair, the ideal place to start is to check the thermostat. First, make sure that your thermostat is receiving power.
If you have a battery-operated thermostat, you will want to replace the batteries (even if they don’t appear to be dead). If you have an older model of thermostat, you may want to gently remove the cover and lightly brush away any dust with a soft, clean brush.
If your thermostat is connected to your electrical system and it shows no power, you will want to check your electrical panel to ensure a breaker hasn’t flipped or blown a fuse. Sometimes circuit breakers can trip due to storms, making it a common winter issue. If this has only happened once, flip the breaker on. If this is a consistent issue, you will want to seek assistance from your local electrician to diagnose the underlying problem.
Once you have confirmed power, you want to set it to “heat” and adjust the temperature to at least five degrees above the current room temperature. Be sure to confirm your thermostat settings are correct, like your schedule setting or manual override. We have often heard of children or guests messing with thermostats, unbeknownst to the homeowner.
If the system still doesn’t turn on, make sure there are no heat sources near the thermostat that may be tricking it into thinking the room is warmer than it is, such as electrical heaters, lamps, or anything similar.
If none of these actions work, it is time to move on to step two!
Step 2: Confirm Power to the Unit
Since you have already checked your electrical panel, the next step to self-diagnose heater repair is to inspect the furnace itself. If there are no apparent signs of furnace distress, check the light switch on the unit to ensure it is on. If it isn’t, you may need to reset the system.
Step 3: Inspect the Air Filter
Next, we suggest you inspect your air filter. If your filter is not maintained correctly, it can become clogged and cause the system to overheat. This overheating may trigger the safety shutoff, forcing the system to remain off until the filter is replaced.
As a note, we recommend replacing filters every 1–3 months, depending on use and household conditions. If you are unsure how often to change your air filter, we suggest reviewing the manufacturer’s instructions or asking your technician during your next maintenance appointment.
Step 4: Take a Whiff for Weird Smells
Now it is time to engage your bloodhound senses. We encourage you to take a whiff and see if you notice any strange smells. If you do not have a good sense of smell, grab someone in the household who does.
If you smell gas, leave the house and call the gas company immediately; don’t try to troubleshoot. This is a severe and perilous situation. Take your loved ones and pets and vacate the premises.
If you smell something burning, it could be an electrical issue or a failing blower motor. You will want to turn off the system and call for a professional.
If you smell something musty, it could indicate you have mold in the ducts. Mold in the ductwork can restrict airflow, causing the system to overwork with little results, potentially leading to system failure. You will want to turn off the system and call for a professional here as well.
Step 5: Listen for Strange Noises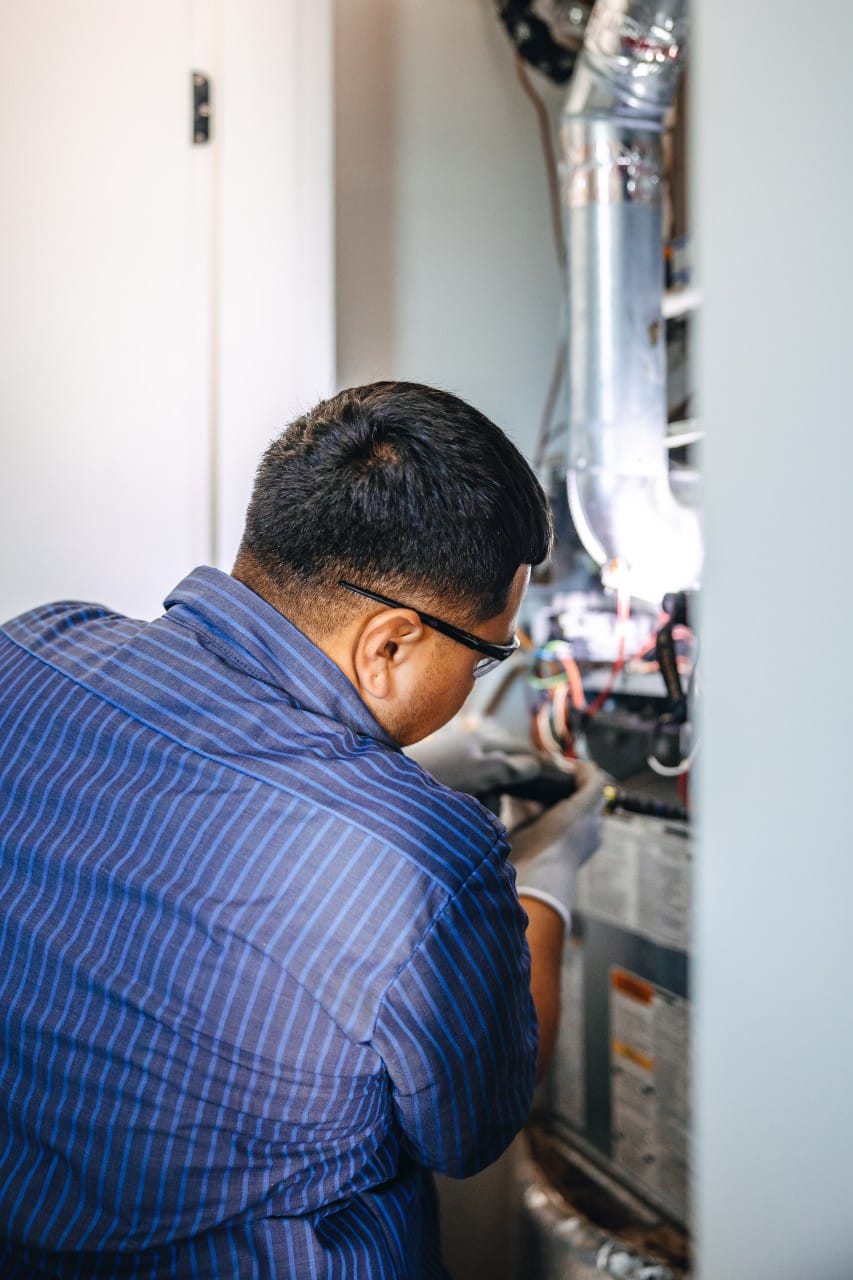
Should you smell nothing out of the ordinary, it is time to listen. Clicking, buzzing, clanking, screeching, popping, banging, rattling, humming, scraping, or any other noise outside of its normal operational sounds is an indicator that something could be wrong. In most cases, a noisy furnace requires furnace repair, so it is best to call a professional to get a proper diagnosis and solution.
Hearing something odd? Check out our blog on The Mystery of the Noisy Furnace to understand common furnace noises and the level of concern for each.
Step 6: Ensure the Gas Supply is On
If you didn’t hear anything either, the next step in diagnosing your heater repair is to ensure the gas supply is on if you have a gas furnace. Confirm that the gas valve is open. After, if it is propane, make sure the tank isn’t empty. The cold season in the Tri-Cities can cause homeowners to go through more propane than they might think, so you may need to call for a refill sooner than you estimated.
Step 7: Check the Pilot Light or Ignition System
Once you have confirmed your gas supply is adequate, it is time to check the pilot light or ignition system.
For older units with a pilot light: verify it’s lit and steady. It should be a blue flame; if it is a red, yellow, or green flame, it indicates that the furnace isn’t burning gas efficiently and needs professional heater repair. If the pilot light is out, turn off the gas for 10-15 minutes and then try to relight it. If the pilot won’t stay lit, this could indicate a faulty thermocouple or dirty flame sensor. In this case, you will need professional heater repair.
For newer systems with electronic ignition, a pilot light is not present. Therefore, you will want to check if the electronic ignition clicks or flashes a diagnostic light. If it clicks, it means it’s trying to spark but failing to ignite. If it flashes, it is emitting an error code pattern, which brings us to step 8!
Step 8: Review Error Codes
Furnaces have built-in safety features, which, when triggered, throw an error code. To interpret these error codes, you will need to reference your user manual or the code chart, which is often found inside the furnace panel. To read the codes, watch the blinking LED light on your diagnostic panel and take note of its pattern and speed. You may be able to translate the problem and communicate it over the phone to your HVAC professional. They, in turn, may be able to offer you a DIY solution. Alternatively, you can call for a professional to perform a reading.
Step 9: Consider Your Furnace’s Age & History
Lastly, should none of these previous eight steps resolve your problem, it may be time to consider the age and history of your HVAC unit. It is important to keep in mind that the average lifespan of a furnace is 15 to 20 years, with older units often needing more frequent repair. Eventually, the time will come when your furnace will give out and heater repairs will no longer be the economical choice. If your heater needs to be replaced, we at Apollo Heating & Air offer professional assessments and honest advice about replacement options.
When to Call a Professional for Heater Repair
You’ve made it to this point, so you are likely wondering if now is the time to call for heater repair. If none of the above DIY solutions worked or any of the following are occurring, it is time to call for professional furnace repair:
- You smell gas
- You hear loud banging or screeching noises
- Water is leaking from the unit
- If your unit turns on, cycles frequently, and doesn’t produce warm air.
Heating System Maintenance – How to Prevent Future Furnace Repair
The number one way to prevent unnecessary heater repair is by performing regular heating system maintenance. As a homeowner, this includes replacing the batteries in your thermostat, keeping vents clear of household items, and changing air filters on a scheduled timeline.
Additionally, we recommend scheduling your annual heating system maintenance check before the cold season starts. This can ensure your heating system is running at optimal performance and potentially catch a budding problem before it becomes a critical issue.
Why Choose Apollo Heating & Air for Your Heater Repair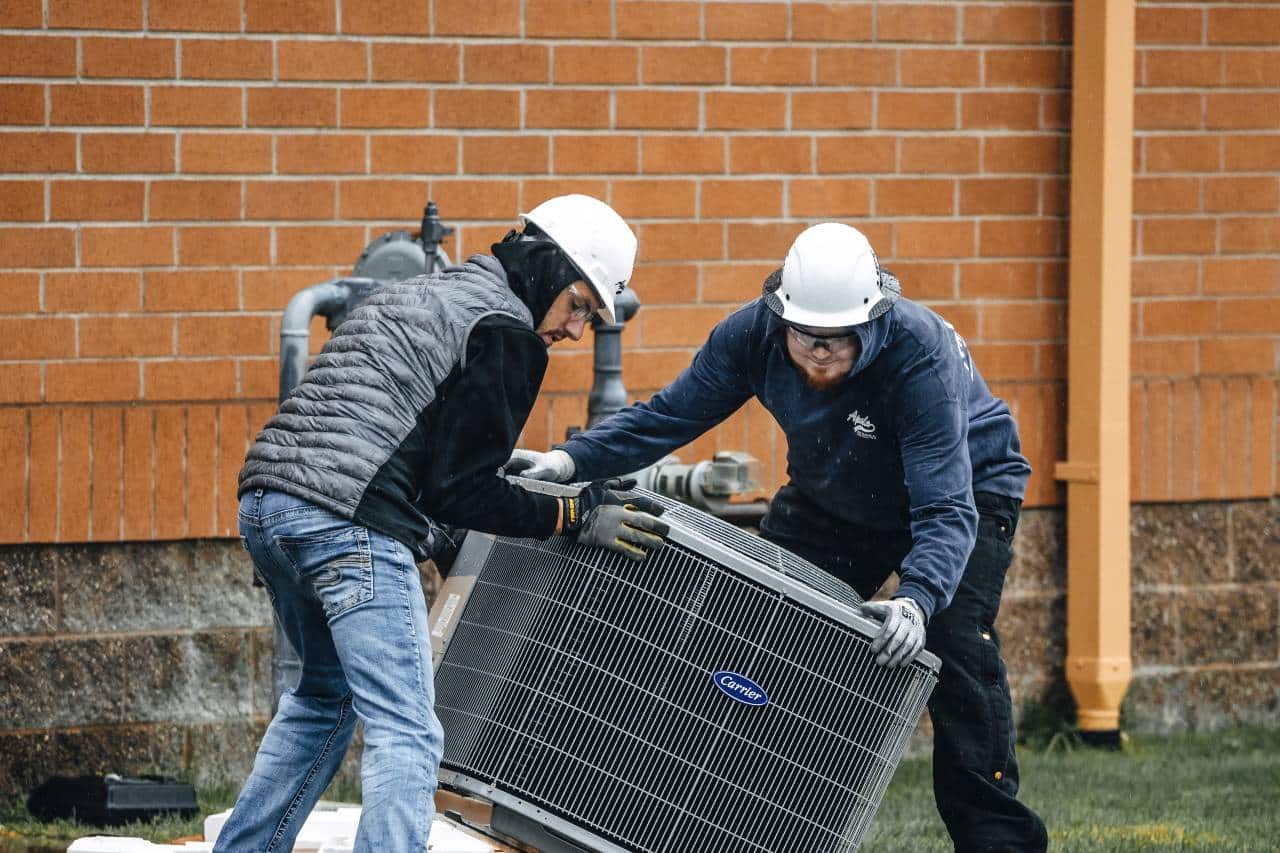
At Apollo Heating & Air, we are a trusted heater repair and replacement company that has been serving the Tri-Cities and surrounding areas for over 35 years. Our experienced HVAC technicians who specialize in heater diagnostics and repairs are available for same-day emergency services with fair, upfront pricing.
Want to prevent an issue before it starts. We offer comprehensive heating system maintenance plans for year-round peace of mind!
Is your heater not turning on? Call Apollo Heating & Air for fast, reliable service and expert diagnostics. We’ll get the heat back on, safely and quickly.